If you have been following me on Instagram for some time now you know I love to create flat lays. So I have compiled a few tips and tricks that will hopefully have you mastering the flat lay in no time! Whether it be your travel essentials, daily outfit inspo, a beauty haul, recent purchases, weekend comforts, breakfast, brunch, coffee or drinks, flat lays definately have no limit!
Pick A Theme or Hero Piece
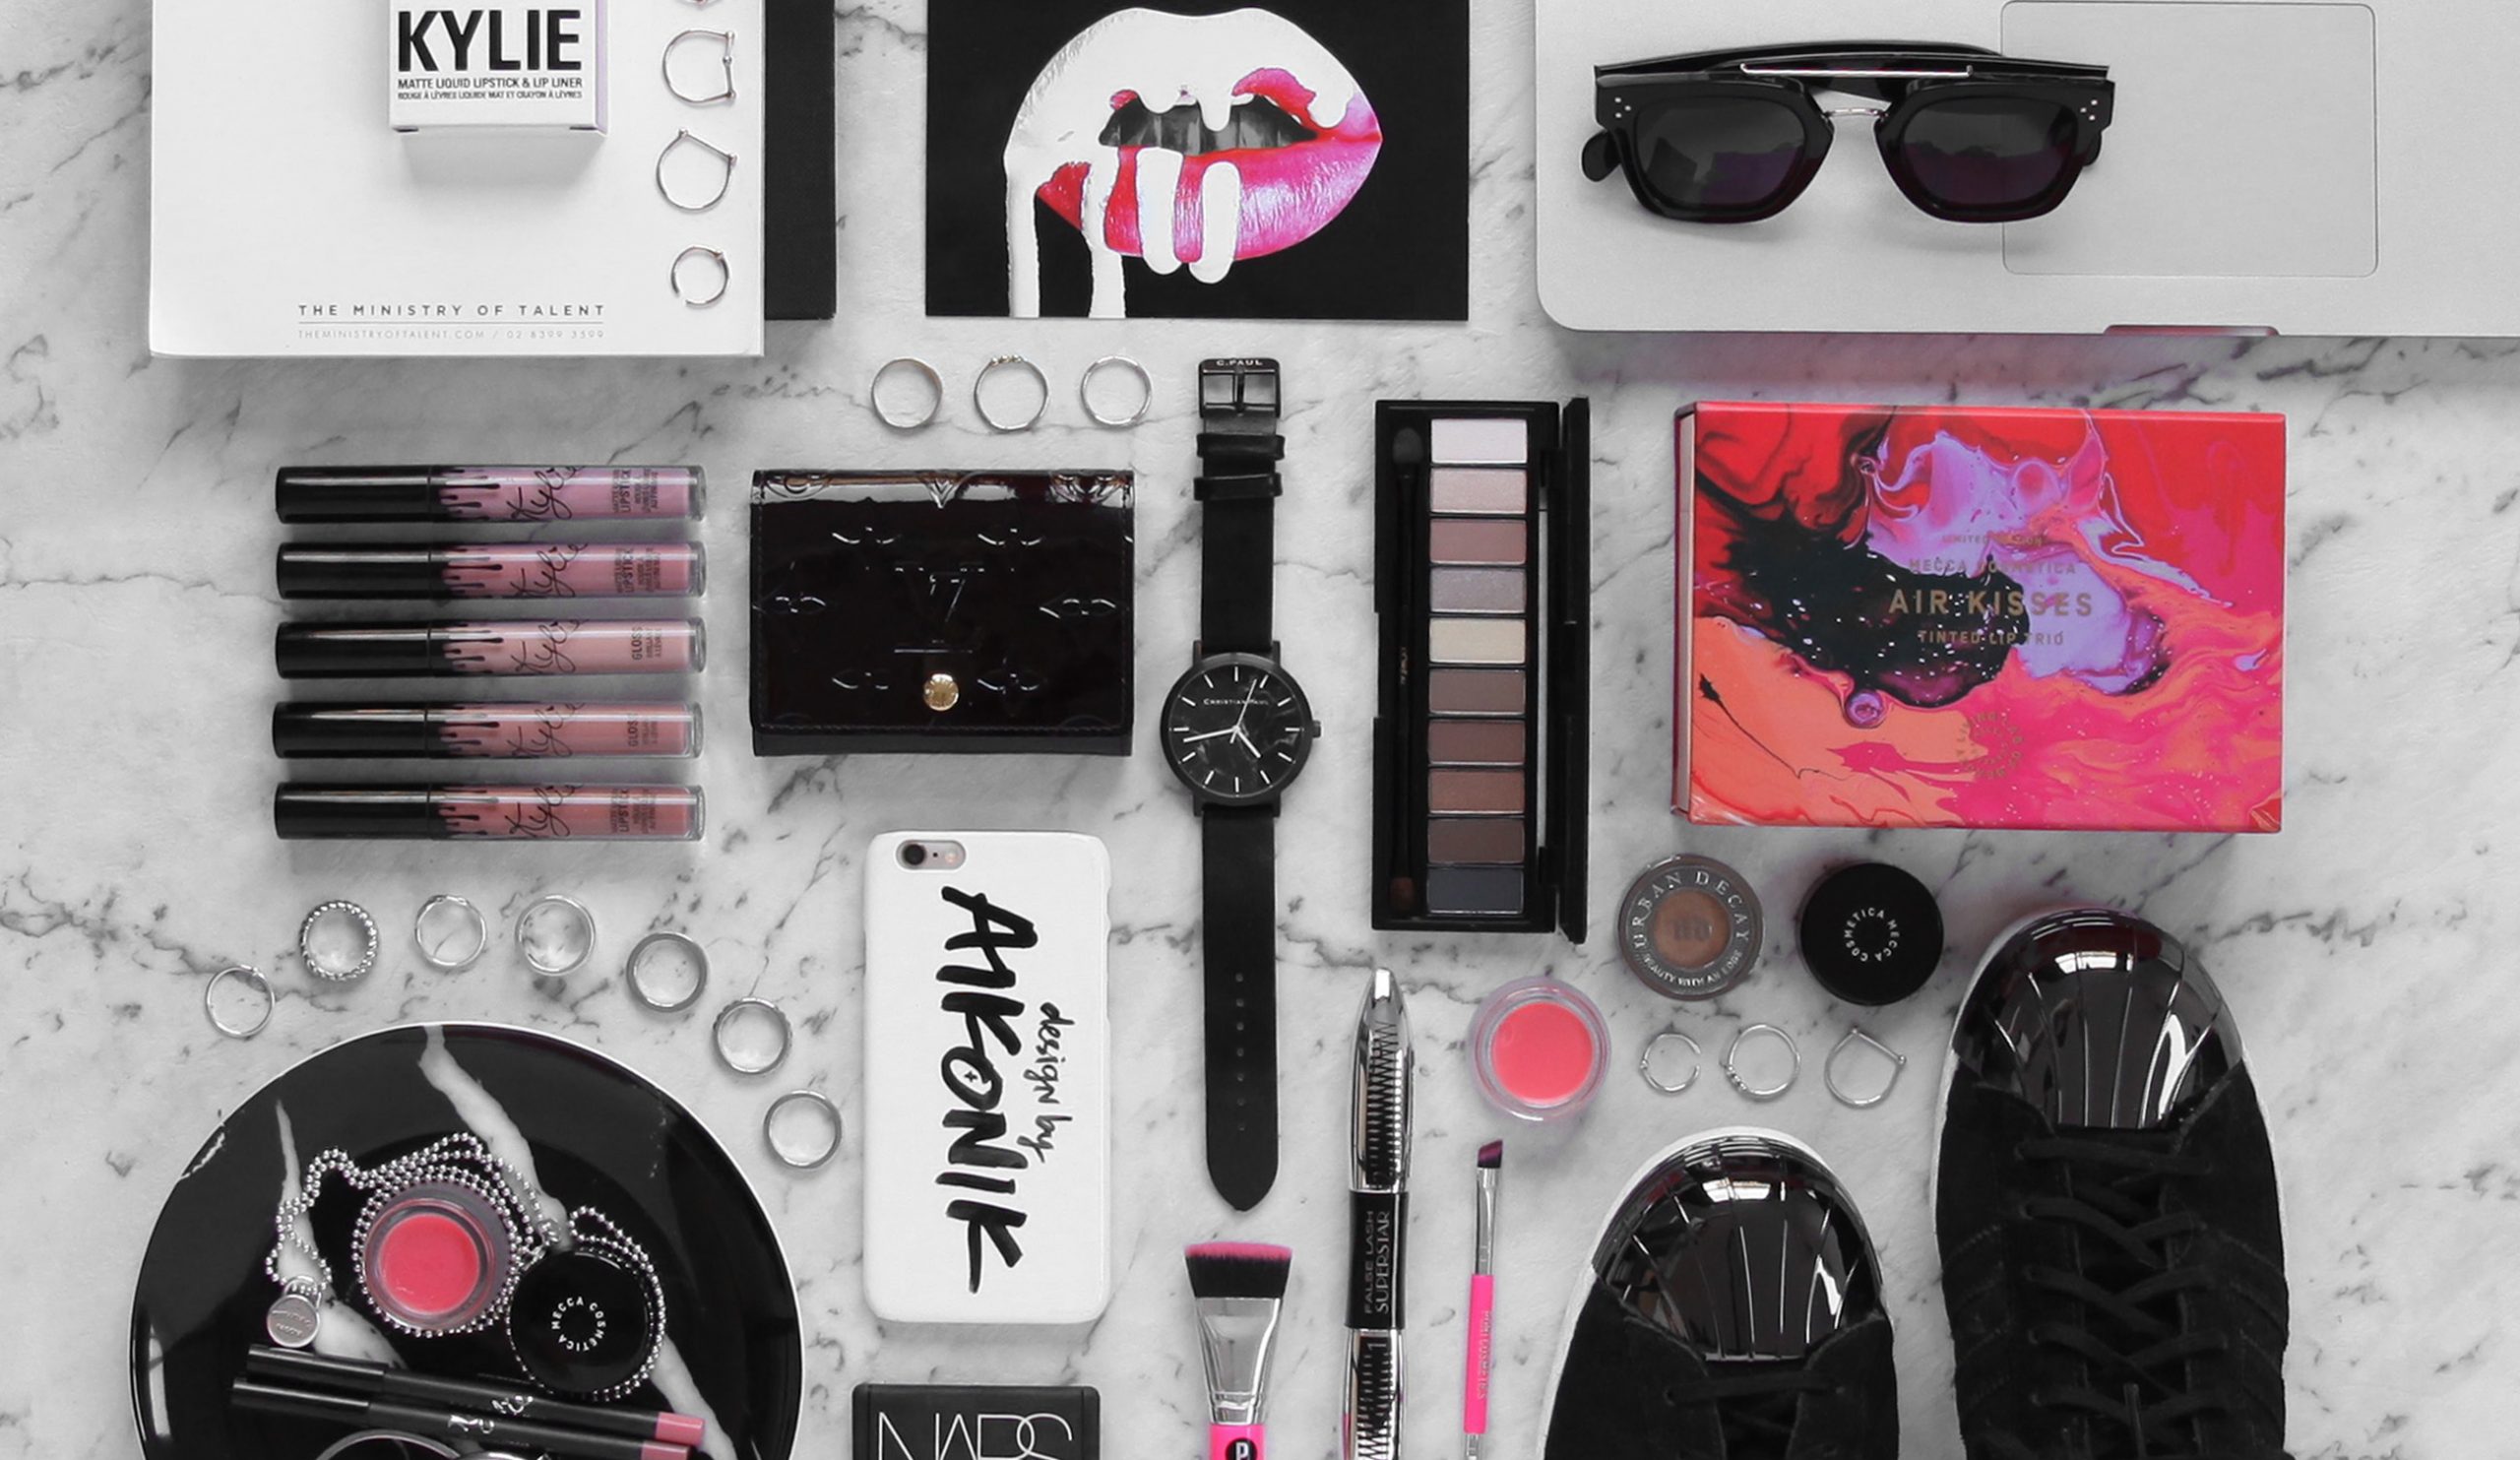
A flat lay should revolve around a particular theme or feature one or two main items/products with other accessories surrounding and complimenting one another. It should tell a story, whether its your favourite monochrome items, a foodie spread, beauty essentials, each element needs to work together when placed together. The hero piece can be absolutely anything, it should be the main focus to your theme, but not necessarily placed in the centre of your photo, to draw the viewers attention and then to all the surrounding items.

Composition Is Key
Depending on the type of flay lay you want to achieve, a non cluttered, simple with lots of white space or a very detailed, intentionally cluttered filling the whole frame, it is the composition that is the key to a good flat lay. Sometimes less is more. You don’t always have to fill the entire frame with product. Lay your hero piece down and balance the items around so as to not detract from the main attraction. The same idea is applied for a more detailed flat lay, place your main items down first and work the smaller and more intricate items around. I always love to play with the smaller items, like having objects spilling out of a bag, overlaying objects and creating different shapes within the Instagram “square" composition. Remember to always fill in all the gaps, once the main objects are down fill in the rest of the space with nondescript items (delicate jewellery is always my go to item!)


Colour
Colour is so important in creating an eye catching flat lay. If your hero piece is pink balance other item/s within the shot to compliment. Or base your entire composition on one colour scheme, although very hard to get everything the same colour, remember black and white items are your best friend - they are great to subtly break up the flat lay without overtaking the colour theme of the image. Another idea is to use all monochrome products/clothes and featuring one pop of colour. The options are endless.


Shoot In A Square
Always when shooting from your phone flick your screen to ‘square mode’. This makes it easier to see what t0 fit within the Instagram frame and saves the hassle of cropping it later. If you choose to use an SLR camera (which in most cases I do, and for those who always ask, I use a Canon 5D) remember to place your items as square as possible before you shoot. A little tip I use when using an SLR is to actually shoot on my phone first to see if I have everything in frame if I want it square, or even practice to see if the flat lay looks ok when cropped. Most importantly when shooting, get yourself up on a step ladder, table, or chair (whatever it takes) to get the shot. When using a phone it's important that you can see what you are framing and keeping a steady hand. As for SLR shooting, I invested in a tripod arm, that allows the camera to be a birds eye view over the flat lay and guarantees that the image is square and crisp.


Good Lighting
One of the top questions I get on my Instagram is what lighting do I use!? Answer. Natural light! It’s all about getting the best time of day (morning ideally) to get that soft natural light to avoid getting heavy shadows (unless you want shadows!) Direct sunlight is definitely a no-no as it creates harsh shadows and won’t allow you to get the crispest image. Using artificial lighting can also create that unwanted yellow haze, so natural light is ideal. Find a bench or floor space next to a window (or surrounding windows) or outside away from direct sunshine. Always do a couple of test shots before you compose your flay lay in case you need to relocate! I always shoot in a room with surrounding windows and use a reflector (pointing towards the light) to counteract the non existent light behind me. If you are using a SLR, play around with the aperture settings to allow more light in to brighten up your photo.

Backgrounds
Remember flat lays aren’t limited to just a white background (although some products just look better on a plain and simple background). Play around with backdrops and various textures like floor boards, concrete, marble or coloured paper. Make sure it doesn’t over take the items you are shooting, it should compliment the image not distract from the overall composition.


Editing
A good flat lay should look as natural as possible without too much obvious editing. There are plenty of free photo-editing apps available in order for you to easily enhance the colour, contrast, brightness, saturation and clarity. But I will save that for another blog post!
Stay tuned for part two of my tips and tricks of How to Edit a Flat Lay.
This is such a fantastic article! Your flat lays are the bomb. Thanks for sharing!
http://www.inessaradostin.com
Love this! I also love to create flatlays – and I follow a lot of the same methods that you do! x
Shloka
thesilksneaker.com
You have the best flat lays, ever!
Awesome post!!!
i absolutely loved this !! you are the reason I fell in love with flat lays <3 i cannot wait for part two <3 Happy Hump day, beautiful xx
IG: @michaeladacosta
Blog: http://www.graceandcoy.com.au
Wonderful tips! love it! Sandyxo
Love this! Thank you so much, I need all the advice I can get hahaha! The reflector is something I’ve never thought of, and I have one somewhere. Can’t wait for your flatlay editing post!
X Isabella
http://www.fawnjournal.blogspot.com
I really love this 😀 on my Instagram i aim for Flatlays almost in every post. It is a hard work but really worth it.
Your Flatlays are so creative :))
JULIE || cuteiinstgram.blogspot.com
So, now I’ll be able to create epic Flaylays like you! Hhehehehe
Loved this, thanks for sharing babe.
Love Loi x
http://www.loreebloom.com
You do the best flatlays! Could look at them all day long!
xx Sarah-Allegra
http://www.fashionequalsscience.com
I have always loved and impressed by your flat lay! Organized and clean, but also filled with lots of details!! My flat lay goal definitely goes to you!!!
I lovecreating flatlays, but still a movie and continually learning. Thanks for the tips. I need to get myself a tripod arm. Any suggestions on where to get one that isn’t too expensive? Also what lense do you use? I am using a 50-70 mm at the moment.
Michelle xx | http://www.thisismybliss.com.au
It all takes practice, I’m still learning as I go as I continually adapt different ways of flat laying. Tripod arm is definitely the way to go. 50mm is what I use so you are on a winner with that you have already! Good Luck! x